How do I properly use the panels and the film?
Installation of Renovaxe Panels
The installation of self-adhesive panels is a straightforward process, requiring only five simple steps.
 01
01Dust off the flat surface on which you are going to install the panels.
 02
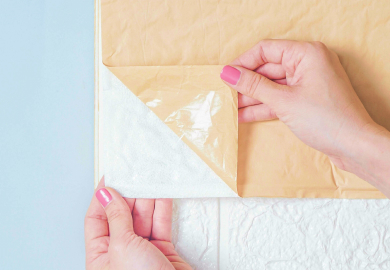
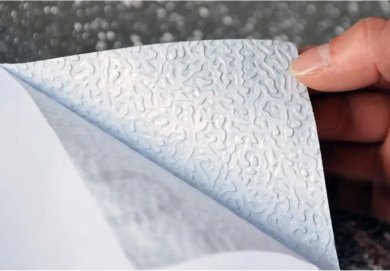
02Remove the protective film.
 03
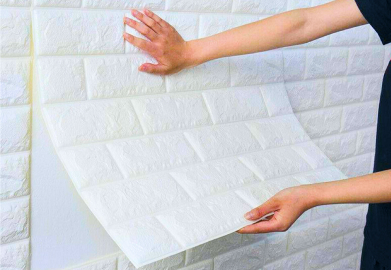
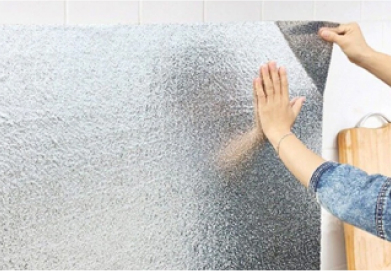
03Attach the adhesive backed side of the panel to the surface.
 04
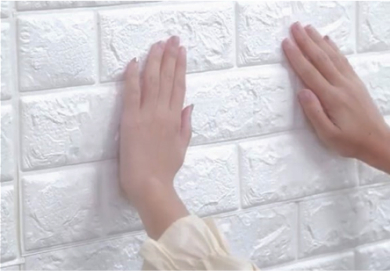
04Smooth it so that no air bubbles remain on the surface.
 05
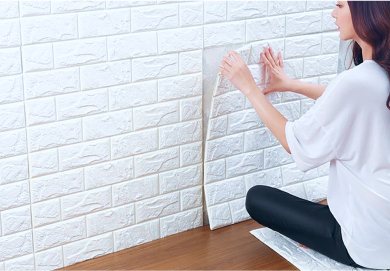
05Place the next panel with its edge against the joint and smooth in the same way.
This way you can make a modern and stylish renovation yourself even in a very short time!
Installation of Renovaxe Panels
The installation of self-adhesive panels is a straightforward process, requiring only five simple steps.
 01
01Before adhering the film, it is important to prepare the surface. Remove any dust or debris, ensuring the surface is clean and flat.
 02
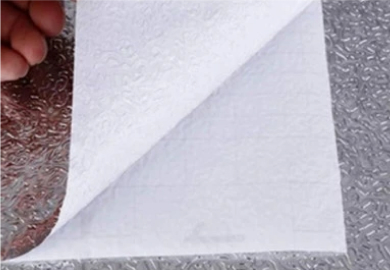
02Begin the film from the corner. The protective paper should be removed in a controlled manner, with a margin of 10-15 cm around the perimeter of the roll. The beginning of the film should then be carefully applied to the surface, ensuring that the adhesive side is in contact with the surface.
 03
03The protective paper should be peeled off gradually, in 10-15 cm strips, and the film glued on in a smooth, even manner, from the centre outwards.
 04
04Once you have reached the edge of the surface, cut the roll with a stationery knife.
 05
05When attaching several pieces of film together, it is essential to ensure that the pattern is identical. Then remove 10-15 cm of the protective paper and affix it carefully to the joint of the previously glued film. Then repeat steps 3 and 4.
 06
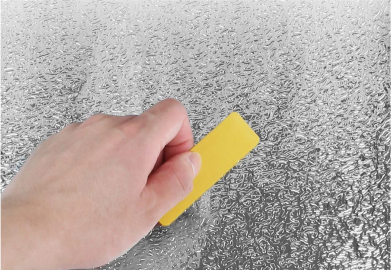
06To guarantee that no air bubbles remain beneath the film, it is recommended that a foil spreader or a special spatula is used.
 07
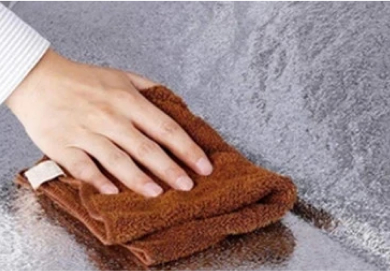
07Once the adhesive has been applied, the protective film should be removed using a damp cloth.
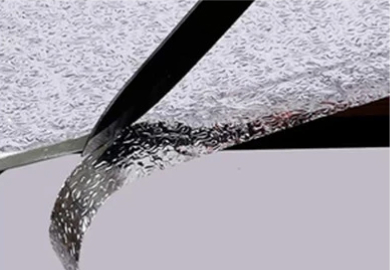
This way you can protect your home surfaces from dust, stains and damage, all by yourself!